Princess Cut Blouse Cutting: Measurements, Drafting and Stitching Steps
By Nishita Nathani22 min read
Princess cut blouse cutting means shaping the front without darts: each half of the front is cut as two panels, a centre front and a side front, joined by a curved seam that runs from the armhole or shoulder over the bust point and down to the waist. You draft a front that fits, draw the princess line through the apex, split it into two panels with notches, add seam allowance, and stitch the curved seams first, before the shoulders, sleeves and side seams. Below are approximate measurements in inches, a panel layout, the stitching order and the fit faults that start at the cutting table. If you are still deciding between a princess cut and a cup style, read our princess cut vs katori blouse guide first; this one is the how-to.
At a glance
4 front panelsa centre front and a side front on each side, cut as mirrored pairs
About 2 innotches above and below the apex, so the curve eases evenly
About 1 inside seam allowance, so the blouse can be let out later
About 1 mfabric for a blouse with short or elbow sleeves
A plain saree blouse gets its shape from darts: folded wedges of fabric stitched in towards the bust from the waist and the side. A princess cut blouse moves all of that shaping into two long seams. Each seam starts in the armhole or at the shoulder, passes over the apex (the fullest point of the bust) and runs down to the hem. Because the curve is cut into the panels rather than folded in, the front lies smooth with no dart points, and the seam lines run vertically down the body.
On the front, each princess seam starts in the armhole and crosses the apex. The back can carry matching seams or simple waist darts.
The two panels on each side have opposite curves. The centre front panel has a concave edge, curving inwards, and the side front panel has a convex edge that bulges outwards over the bust. Sewn together, the two curves make a three dimensional shell. The side front edge is slightly longer between the notches, and easing that extra length in is what gives room for the bust.
For the name variants and how a princess cut compares with darts and katori cups, see the princess cut vs katori blouse guide.
Pieces, Tools and Fabric
A princess cut blouse with a front opening and short sleeves usually has these pieces. Every one is cut again in lining, apart from the plackets and binding.
Princess cut blouse pieces
PieceHow manyNotes
Centre front panel2, a mirrored pairConcave princess edge; the hooks go along its centre front edge
Side front panel2, a mirrored pairConvex princess edge, armhole and side seam
Back1 on the fold, or 2 for a back openingWith two waist darts, or princess seams of its own
Sleeves2From a sleeve pattern that already fits you
Plackets2 stripsOne narrower and one wider, for hooks and thread bars
Neck finish1 bias strip or a facingBias binding is common on cotton; a facing suits a deep or shaped neck
Waist belt (optional)2 layersA band under the bust for extra hold, often used on heavier fabric
What you need on the table
Brown paper or pattern paper, a long ruler and a curved ruler (a French curve) for smooth seam lines
Tailor's chalk or a fabric marker, pins or pattern weights, and sharp fabric scissors
A measuring tape and the measurements written down in inches
Lining: soft cotton or voile is the usual choice for cotton, linen and crepe blouses
Hooks, matching thread, and a tailor's ham or a firmly rolled towel for pressing the curves
About 1 m usually covers short or elbow sleeves; full sleeves, a long blouse or print matching need more. Firm, smooth fabrics such as cotton, linen and crepe are the easiest for a first princess cut, because the curves hold their shape while you ease them. Slippery or very soft fabric shifts as you stitch, so line it and staystitch every curved edge. Our blouse fabric guide covers lining, pre-washing and choosing the right blouse material.
Measurements for Princess Cut Blouse Cutting
You need the same measurements as for any fitted blouse. Our blouse measurement and fitting guide explains how to take each one, what to wear and how to use the finger rule, so here we only list the ones the princess draft depends on and where each goes. Measure over the bra you will wear with the blouse.
Shoulder to apex and apex to apex fix where the princess seam crosses the bust. Get these two right and most of the fit follows.
Where each measurement goes in the draft
MeasurementRough checkUsed for
Shoulder to apex9 to 11 inHow far down the shoulder line the apex sits: the height of the princess curve
Apex to apex7 to 8 inHalved, how far the apex sits from centre front: where the seam crosses
Full bustYour own figureA quarter, plus ease, is the finished width of one half front at the bust line
Underbust or waist roundYour own figureThe width at the hem, and how much shaping the seam must take out
Front length14 to 16 inShoulder to hem over the bust; the front is longer than the back
Shoulder and armholeYour own figuresThe shoulder line and armhole curve, and where an armhole princess starts
Front neck depthYour choiceWhere the neckline sits, which limits where a shoulder princess can start
Use your own figures
The rough check column is only there to help you spot a figure that looks wrong; it is not a size standard. Bodies vary, and a princess cut is unforgiving about the apex: draft from your own numbers, never from the range.
Shoulder or Armhole: Choosing the Seam Start
Before you draw anything, decide where the seam begins. A shoulder princess starts around the middle of the shoulder seam and runs fairly straight down over the apex. An armhole princess starts in the front armhole, usually about a third of the way down, and sweeps in a deeper curve to the apex. Both must cross the bust point.
The two seam starts. Whichever you choose, the seam must pass over the bust point.
Which start to cut
Shoulder princessArmhole princess
LookLong, straight lines from shoulder to hemSofter curves that frame the bust
DraftingSimpler curve, easier to easeDeeper curve, needs more clipping and careful easing
NecklinesNeeds enough shoulder strap left after the neck is cutWorks with wide and deep necks, since the shoulder stays whole
SleevesSeam meets the shoulder seam; match it to the backSeam meets the sleeve; notches must match at the armhole
Good first tryYes, on a round or U neckYes, on a boat, square or sweetheart neck
The most reliable way to draft a princess front is to start from a darted front that already fits and move the darts into the seam. Pattern makers convert darts this way because the shaping stays exactly the same; only its position changes. Work on paper, without seam allowance, and add it at the very end.
One half of the front, split into two panels. Approximate figures; draft from your own measurements and add seam allowance before cutting.
Drafting one half of the front
1
Start from a front that fitsDraft a basic darted blouse front from your measurements, or trace the stitching lines of a well fitting darted blouse laid flat. If you are drafting the darts from scratch, one published method sizes the front waist dart by the difference between bust and waist: about 1 in when the difference is under 4 in, 2 in when it is over 4 in, and 3 in when it is over 6 in.
2
Mark the guide linesDraw the centre front line, the shoulder line, the armhole, the neckline and the hem. Draw a level bust line straight across from centre front to the side seam.
3
Fix the apexMeasure your shoulder to apex down from the shoulder line, often 9 to 11 in, and half your apex to apex in from centre front, often 3.5 to 4 in. Where the two meet on the bust line is the apex. One published Indian blouse method adds about 1/2 in to shoulder to apex and takes about 1/2 in off half the apex to apex; others use the body figure and adjust at the trial.
4
Mark the seam startFor a shoulder princess, mark a point around the middle of the shoulder line, on the part the neckline will not cut away. For an armhole princess, mark a point about a third of the way down the front armhole, roughly where it starts to curve.
5
Draw the princess lineWith a curved ruler, draw a smooth line from the start point to the apex, then down to the hem through the centre of the waist dart. There should be no corner at the apex: the line flows over it.
6
Mark the notchesMark notches across the line about 2 in above and 2 in below the apex, and one more near the hem. Mark the bust line on both sides of the seam too. These are what keep the panels level when you sew.
7
Split the panelsCut along the princess line. The waist dart wedge falls out between the two panels. If your front had a side bust dart, close it on the side front panel; its fullness moves into the bust curve.
8
True the curvesRedraw the bust curve on the side front so it is smooth. Walk the two seam lines against each other from the top: they should match from the start point to the upper notch and from the lower notch to the hem. Between the notches, the side front edge is a little longer. That small difference is the ease that shapes the bust, so keep it small and spread it evenly.
9
Check the widthsMeasured along the bust line across both panels, the finished half front should be about a quarter of your bust plus about 1/4 to 1/2 in ease, which gives roughly 1 to 2 in of ease all round. At the hem, check against a quarter of your underbust or waist plus a little ease.
10
Add seam allowance and labelAdd about 1/4 to 1/2 in on the princess seams, about 1 in on the side seams so the blouse can be let out, about 1/2 in on the shoulders, and about 1 in at the hem. Keep the neck and armhole allowance narrow, about 1/4 to 1/2 in. Write the piece name, "cut 2" and a grain line parallel to centre front on each panel.
The narrow princess allowance is deliberate: a wide one bunches round the curve, while the straight side seams can carry the spare inch.
The Back, Sleeves and Small Pieces
The back
Most saree blouses open at the front, so the back is cut in one piece on the fold, with a waist dart on each side. One published method uses a back dart about 4 in long and 1 in wide, up to about 6 in long for a longer blouse. For a fully princess look, convert those darts into seams the same way as the front: draw a gentle curve from the armhole, or the middle of the shoulder, through the dart to the hem. For a shoulder princess, the front and back seams should meet at the same point on the shoulder seam, so the line runs over the shoulder without a step.
Cut the back neck to the depth you want before you cut the fabric, and remember that a deep back takes support away from the shoulders. If you are planning a deep U or a dori back, keep the front shoulder strap wide enough to hold the blouse up.
Sleeves, plackets and binding
Use a sleeve pattern that already fits your armhole and arm, and check that the sleeve cap measures the same as the finished armhole, allowing a little ease at the cap. Our saree blouse sleeve designs guide covers lengths and styles. For the front opening, one published method cuts two placket strips the length of the front plus 1 in: one about 1.5 in wide and one about 2.5 in wide, with the wider one carrying the thread bars for the hooks. Cut a bias strip for the neck if you will bind it, or a shaped facing for a deep or square neck.
Cutting the Fabric and Lining
Careful cutting does more for a princess cut than careful stitching, because a curve cut off grain or a notch in the wrong place cannot be sewn straight later.
Cutting a princess cut blouse
1
Prepare the fabricPre-wash cotton lining and test fabric if they may shrink, and press everything flat. If your blouse piece is a running piece at the end of the saree, cut it off along the marked line first.
2
Fold right sides togetherFold the fabric lengthwise, right sides together, with the selvedges level. Cutting through two layers gives you each panel as a mirrored pair.
3
Lay the pieces on grainPlace every grain line parallel to the selvedge. Lay the biggest pieces first, the back on the fold, then the four front panels, then the sleeves; fit the plackets and bias strip into the gaps.
4
Place prints and stripesWith a large print or stripe, line up the bust lines of the centre front and side front panels so the pattern meets across the seam. With a small all-over print, you need not match.
5
Mark, then cutPin or weight the paper, chalk round it, and cut on the chalk line with long, smooth strokes. Mark the apex with a chalk dot or a tailor's tack, and mark notches with tiny snips well inside the seam allowance.
6
Cut the lining the same wayUse the same pattern pieces for the lining, so the outer blouse and lining can be stitched as one at the hem and shoulders.
Test first
If this is your first princess cut, cut and tack a test blouse in old cotton before you touch the real blouse piece. It takes an evening and shows exactly where your apex sits.
Princess Cut Blouse Stitching Order
The order matters. The curved seams go in first, while each panel is flat and easy to handle, and the side seams go in last, so you can try the blouse on and adjust them.
Clip the concave edge, notch the convex one and press over a curve. This is what lets the seam lie smooth over the bust.
Stitching order
1
Staystitch the curvesStaystitch the concave edge of each centre front panel just inside the seam line, so it cannot stretch. Staystitch the neck and armholes too.
2
Clip the concave edgeMake small clips into the centre front seam allowance, up to the staystitching but not through it, closest together over the bust.
3
Pin at the notchesPlace the centre front on the side front, right sides together, with the concave piece on top. Pin at the start point, the hem and each notch first, then ease the slightly longer side front edge in between.
4
Stitch the princess seamsStitch slowly, with the concave piece on top, keeping the raw edges together and smoothing out any pleats as you go.
5
Release and pressCut small wedge notches into the convex side front allowance, then press the seam flat as stitched, and then open or to one side, over a tailor's ham or rolled towel.
6
Back darts or seamsStitch the back darts, tapering to nothing at the tip, or the back princess seams the same way as the front. Press darts towards the centre.
7
Make the liningMake up the lining front and back the same way.
8
Join at the hemWith outer blouse and lining right sides together, stitch along the bottom edge, turn right side out and press. Topstitch or understitch close to the edge so the lining stays inside.
9
Shoulders and a trialJoin the shoulders, treating outer and lining as one layer. Tack the side seams with long stitches and try the blouse on. Check that each seam sits over the apex and the hem is level before you go further.
10
Sleeves and side seamsLine the sleeve hems, set each sleeve into the armhole matching the sleeve centre to the shoulder seam, then stitch the side seams, keeping about 1 in of allowance.
11
Front opening and neckAttach the plackets along the centre front edges, then bind or face the neckline and finish it by hand.
12
Hooks and final pressSew on the hooks and thread bars, finish any raw edges, and give the blouse a final press over the ham.
Pressing is not a finishing touch on a princess cut. A curved seam pressed on a flat ironing board flattens the shape you have just sewn in, so press the bust area over a curve every time.
Fit Fixes for a Princess Cut
Most princess cut faults start on the cutting table. General blouse faults, from gaping necks to riding hems, are covered in our blouse measurement and fitting guide; these are the ones specific to the princess seam.
At the trial, check that each princess seam sits over the apex before the side seams are stitched.
Princess seam faults and fixes
FaultUsual causeWhat to change
Seam sits beside the bust pointApex marked too high, low, or too far from centre frontOn the pattern, draw a box round the apex on both panels, slide it to your true apex and blend the seam; on a stitched blouse, take in or let out only between the notches
Pointed, cone-like bustCurve too sharp at the apex, or the ease bunched in one spotRedraw a rounder curve over the apex and spread the ease evenly between the notches
Tight across the bust, seam strainsSide front too small for the bustUnpick between the notches on the test, measure the gap, and spread the side front pattern by that amount
Hollow or loose above the bustToo much width in the upper side frontTake in the seam above the top notch, tapering to nothing at the notch
Puckers along the seamConcave edge stretched or not clipped enoughUnpick a short stretch, clip a little closer to the staystitching and re-ease
Ripples after pressingConvex allowance not notched, or pressed flatCut small wedges out of the convex allowance and press again over a ham
Front hem uneven at the seamsNotches not matched, or one panel stretchedRe-pin from the top notch, restitch, then level the hem before joining the lining
Armhole gapes near the seam startArmhole stretched while handlingStaystitch the armhole before sewing; take a little extra at the top of the princess seam
Two faults cannot be fixed in a finished blouse: a princess seam cut in the wrong place, and a panel cut too small with no allowance left. Both are fixed on the pattern for the next blouse, which is one more reason to keep your paper pieces.
Necklines That Suit a Princess Cut
Almost any front neckline works with a princess cut, as long as the neckline and the seam start do not get in each other's way. The rule of thumb: the wider or deeper the neck, the more likely an armhole princess is the easier choice.
Necklines with a princess cut
NecklineSeam start that worksWhat to watch
RoundShoulder or armholeThe easiest pairing for a first princess cut
U and deep UArmhole, or shoulder if the strap stays wideThe seam must start on the shoulder strap, not inside the neckline
SweetheartArmholeThe seams follow the two curves of the sweetheart and help it sit close
V neckShoulder or armholeThe seams frame the V; keep both sides exactly level
SquareArmholeKeeps the square's corners clean; interface the facing so they stay sharp
BoatArmholeA boat neck shortens the shoulder strap, leaving little room for a shoulder seam start
High neck or collarShoulder or armholeThe seams give shape under a closed, covered front
Every MAYIN saree is 5.5 m long and 45 inches wide. Handloom linen sarees come with a 1 m blouse piece; linen holds a princess line crisply and is a good first fabric to cut. Mul modal sarees come with a 1 m running blouse piece in the same fabric; it is soft, so line it and staystitch the curves. Chiffon sarees come with a 1 m crepe blouse piece, which takes a princess cut well with a cotton lining.
Composure, On Repeat and Crosswalk are handloom linen at ₹4,499 and are dry clean; with Crosswalk's stripes, match the bust lines of the panels when you cut. Cocoa and Mauve Melody (₹1,899) and Regal Pin Drop (₹2,499) are mul modal and take a gentle cold hand wash, so pre-wash your lining to match. Sakura (₹4,499) and Starlet (₹5,999) are pure chiffon and dry clean. Browse all sarees with a blouse piece or the linen sarees. Delivery is free in India on orders of ₹2,000 and above.
Questions People Ask
How to cut a princess cut blouse step by step?
Draft or trace a darted front that fits, mark the apex from your shoulder to apex and apex to apex measurements, and draw a smooth line from the shoulder or armhole over the apex to the hem. Mark notches about 2 in above and below the apex, split the front into two panels, add seam allowance, and cut each panel as a mirrored pair.
How many pieces are there in a princess cut blouse?
The front has four panels, a centre front and a side front on each side. Add the back (one piece on the fold, or more with back princess seams), two sleeves, plackets and a neck binding or facing, plus a matching set of lining.
How much cloth is needed for a princess cut blouse?
About 1 m is usually enough for a princess cut blouse with short or elbow sleeves. Full sleeves, a long blouse or matching a large print can need more.
What is the difference between a princess cut and a normal blouse?
A normal blouse shapes the bust with darts that stop short of the bust point. A princess cut has no front darts; the shaping is cut into curved seams that run over the bust point, which gives a smoother, closer fit.
Where should the princess seam be placed?
Over the apex, the fullest point of the bust, on both sides. It starts around the middle of the shoulder or about a third of the way down the front armhole, and runs to the hem through the line of the old waist dart.
How much seam allowance should I leave for a princess cut blouse?
Keep the princess seams narrow, about 1/4 to 1/2 in, so they turn the curve smoothly. Leave about 1 in on the side seams so the blouse can be let out later, and about 1 in at the hem.
Does a princess cut blouse need lining?
It does not have to be lined, but most are. Lining hides the seam allowances, helps soft fabric hold the curve and makes the hem neat, since outer blouse and lining are joined at the bottom edge.
Can I convert a normal blouse pattern into a princess cut?
Yes. Draw a line from the shoulder or armhole through the apex to the waist dart, cut along it, remove the waist dart and close any side dart into the side front. A blouse that is already stitched cannot really be converted, because the darts have used up the fabric.
Why is my princess cut blouse pointed at the bust?
Usually the curve is too sharp at the apex, or the ease is bunched in one place. Redraw a rounder curve, spread the ease evenly between the notches and press the seam over a curved ham rather than flat.
Which neck is best for a princess cut blouse?
Round, U, V, sweetheart, square and high necks all work. With wide or deep necks such as a boat or deep U, start the seam in the armhole so it does not run into the neckline.
Can a princess cut blouse be altered later?
It can be let out or taken in at the side seams within the allowance, and adjusted slightly along the princess seams between the notches. A seam that misses the bust point cannot be moved in a finished blouse.
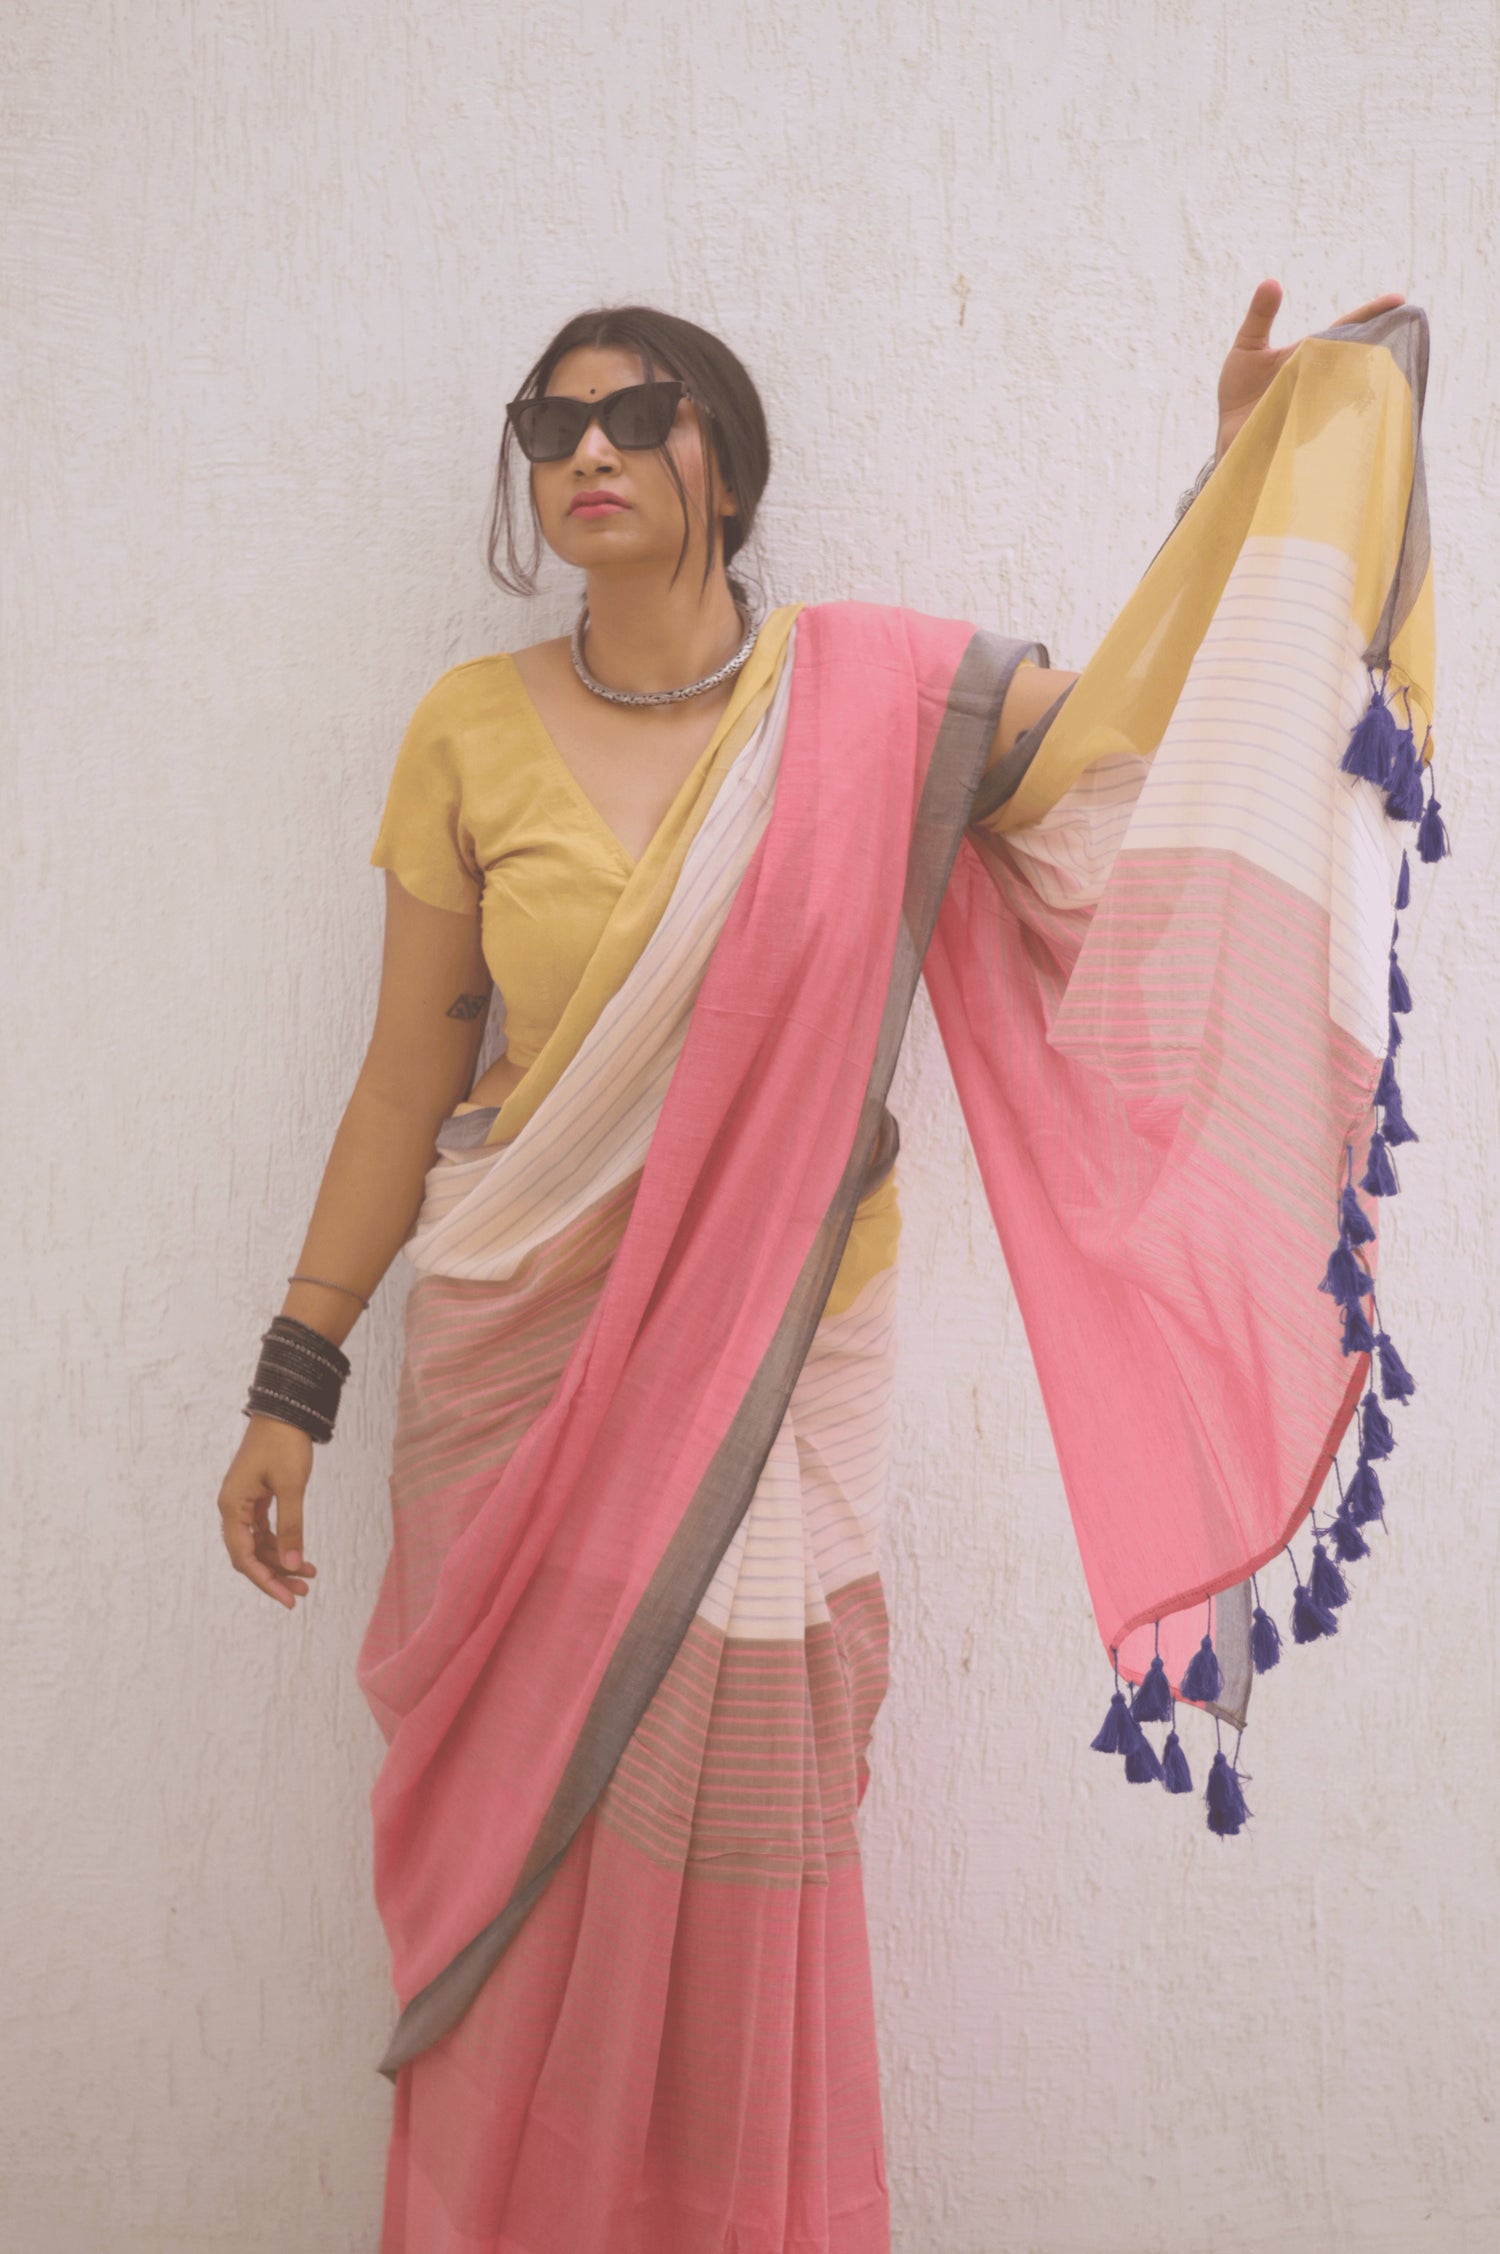


 ComposurePink pure handloom linen with zari borderPair with Gold, maroon
 On RepeatYellow handloom linen with zari borderPair with Maroon, green
 CrosswalkMulticolour striped pure handloom linenPair with Black, white
 CocoaPlain brown modal cottonPair with Cream, gold
 Mauve MelodyPlain pink mul modalPair with Maroon, silver
 Regal Pin DropMaroon red polka dot modal cottonPair with Gold, cream
 SakuraBlue floral print pure chiffonPair with Navy, white
 StarletWine sequin pure chiffonPair with Wine, gold


